Preparing Your Garden For Winter: 10 Tips From a Flower Farmer
As late autumn and early winter approaches, gardeners and flower growers can start to anticipate a period of well earned rest. The season is not over just yet, however. This is a pivotal time to lay the groundwork for next year’s growing season.
Drawing from years of experience in tending to flourishing gardens, this article is a compilation of ten essential winter garden tips designed to safeguard your garden's vitality and set the stage for the blossoms to come.
Whether you're a passionate backyard gardener or a seasoned flower farmer like myself, there are a number of tasks to do to prepare your garden for winter.
From preserving delicate dahlias and sowing cover crops to nurturing hardy annuals and mastering the art of seed-saving, this guide aims to equip you with the indispensable know-how needed to prepare your garden for the winter ahead.
How to Prepare Your Flower Garden for Winter
Mulch Perennials
One of my favourite mulches is leaves
Mulching perennials is a crucial step for winter garden care. Shielding the soil from erosion and enriching it with organic matter, this practice safeguards the tender roots of perennials like Brachyglottis, Hydrangeas and Verbena bonariensis from frost.
Whether you use leaves, straw, compost, or wood chips, these mulches serve as effective protectors while also deterring weed seed germination come springtime.
2. Sow a Last Minute Cover Crop on Empty Beds
Phacelia, buckweet and mustard cover crop from the summer
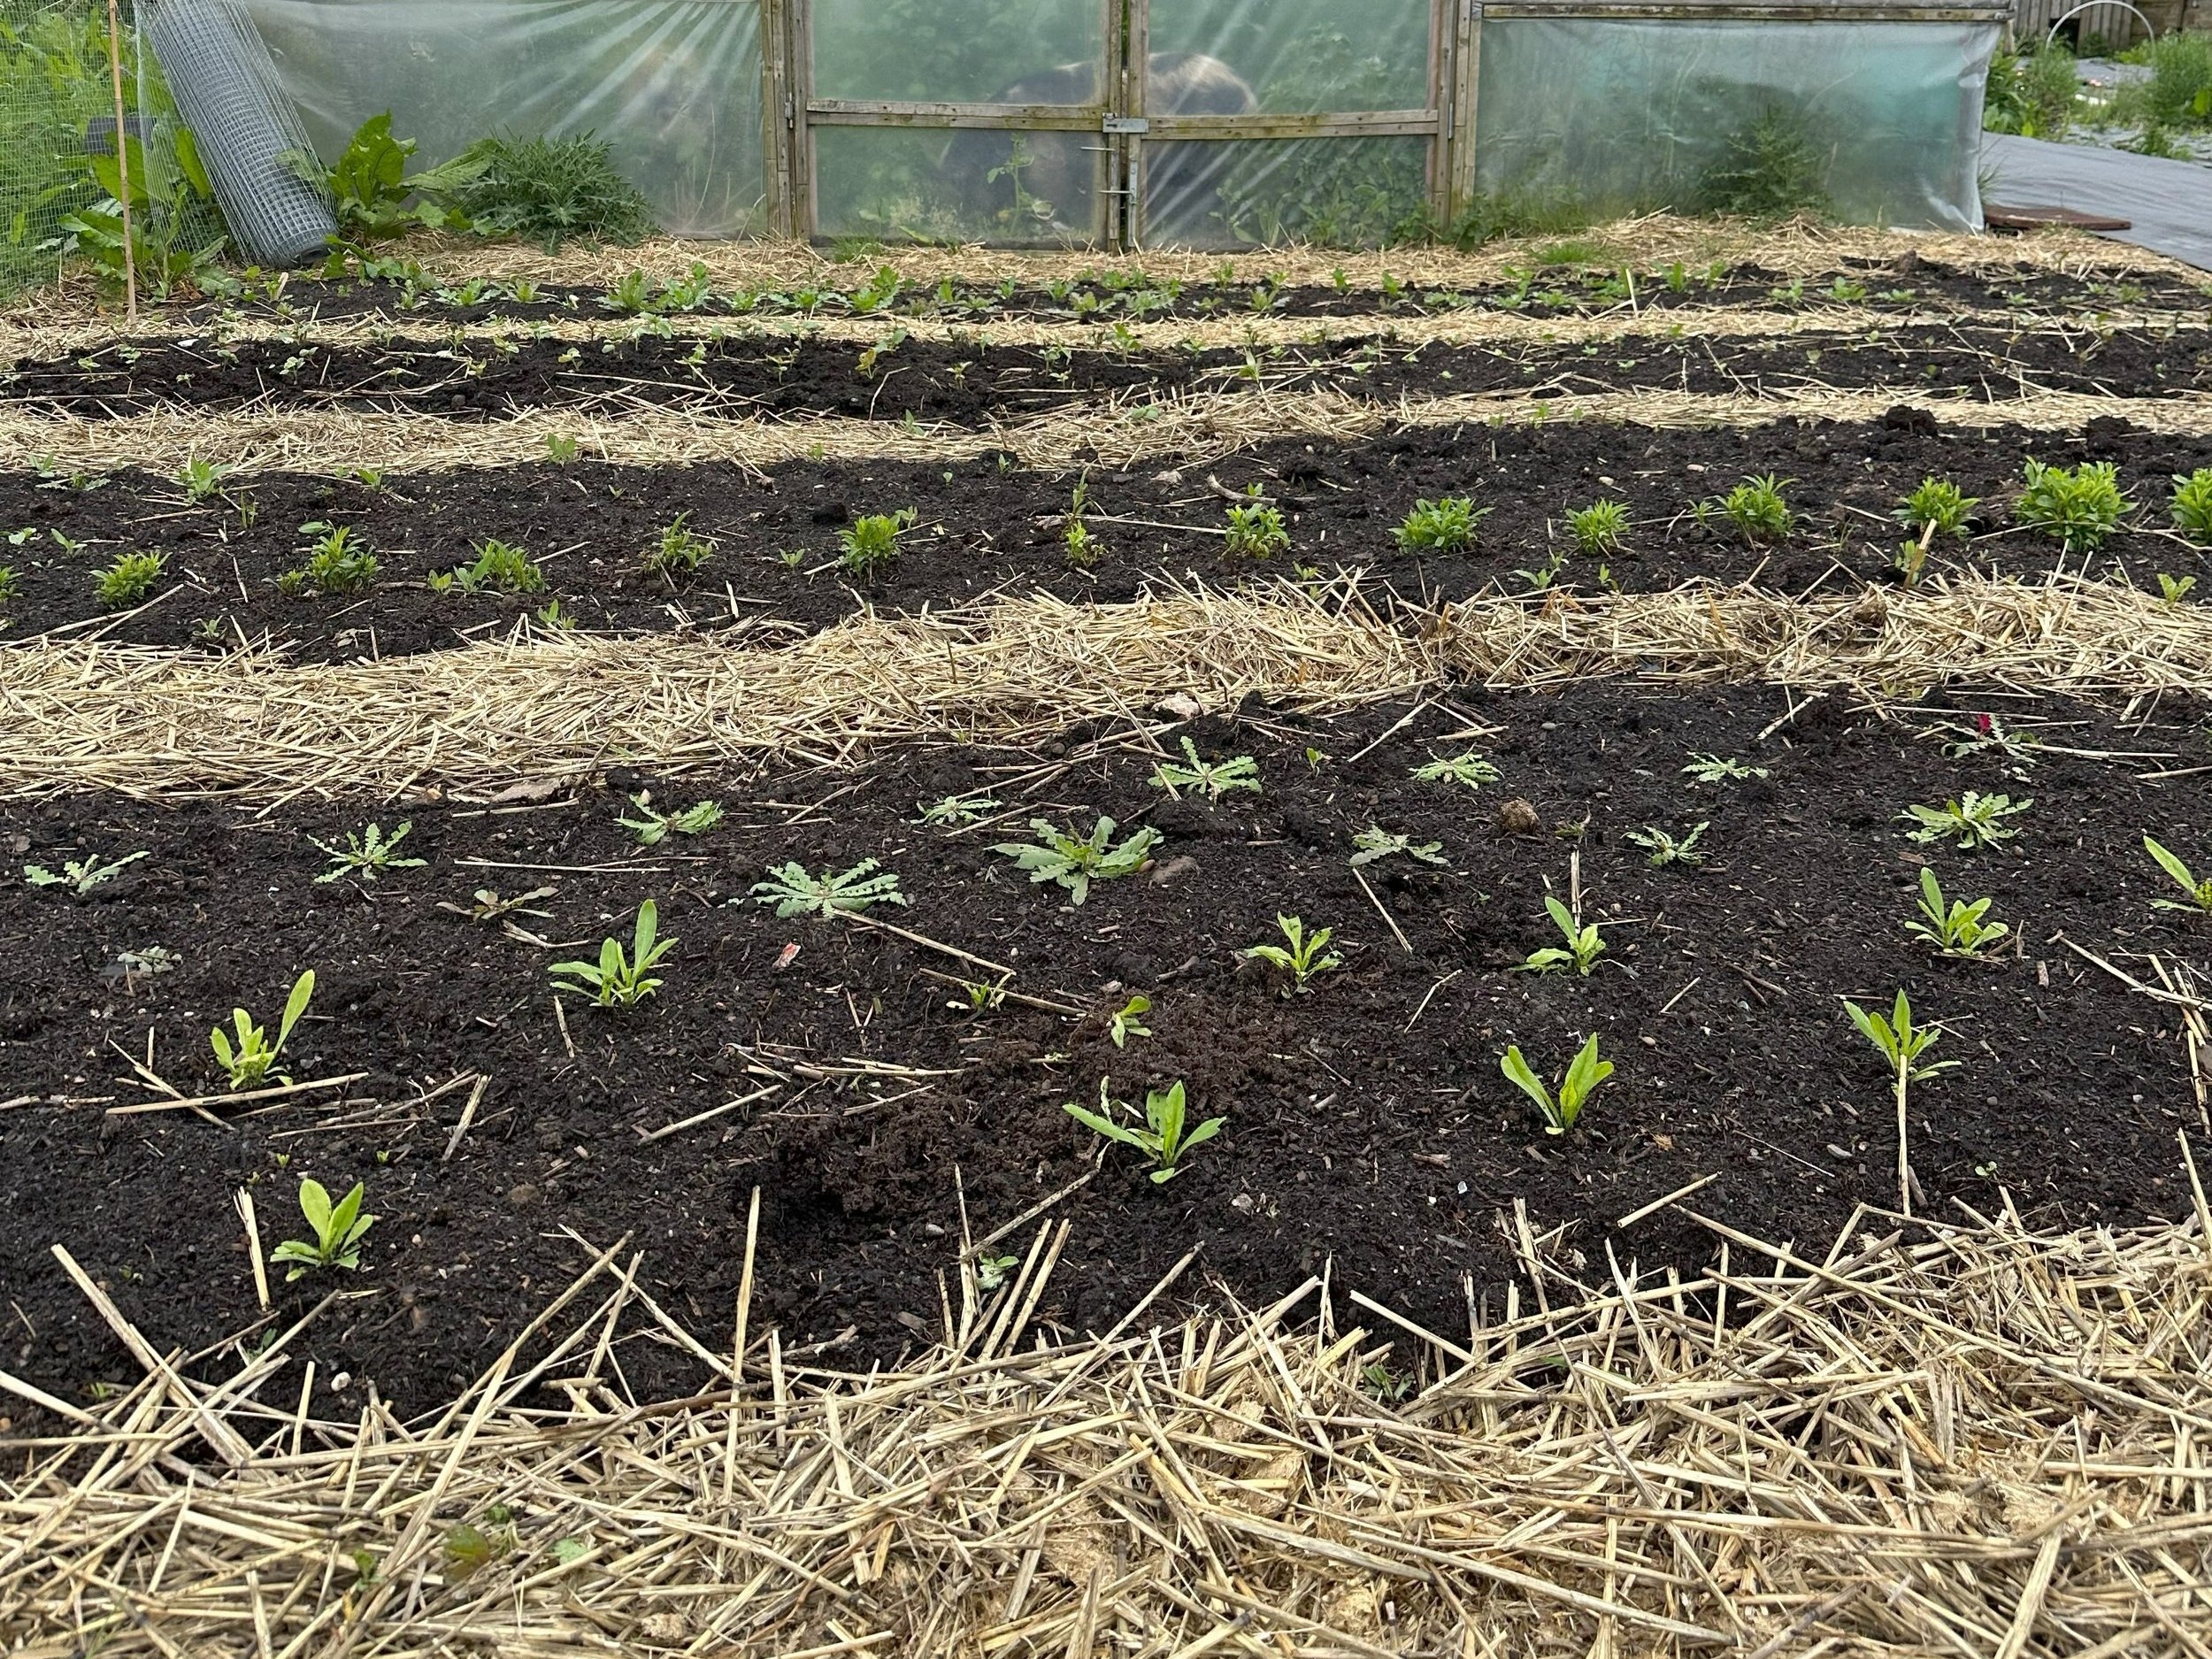
One of my principles of growing is to always maintain living roots in the ground and this is why sowing a last-minute cover crop on empty beds remains a top priority in my winter garden routine.
At this stage it is too late to sow flowers in the ground but there are certain cover crops, such as rye, which can germinate in colder temperatures.
The advantages of rye for the soil lie in its ability to establish deep roots and nourish soil life through the secretion of root exudates. Its presence not only prevents erosion of bare soil but also elevates soil health compared to unplanted areas.
Rye produces a large amount of biomass which is great for adding organic matter to soils. It’s also great at preventing nitrogen leaching over winter.
3. Plant Out Hardy Annuals into their Final Growing Positions
Hardy annuals such as Snapdragons, Larkspur and cornflowers are able to tolerate cold temperatures.
I believe they do better if they’re able to get roots down in autumn while the weather is still relatively warm and they still have adequate daylight for growth. Once they’re established in the ground they will go dormant over winter.
The following spring, these pre-established plants already have a head start on the season to produce strong flowers early summer. Before planting them, I like to soak their roots in a compost extract (in the video below).
This gives them a dose of helpful microbes to take out into the big wide world with them. This can reduce transplant shock and help the plants establish themselves in their final growing position.
4. Save Seeds from Dried Seed Heads
Scabiosa caucasia seeds ready for harvest
By late autumn, many of our annuals and perennials have finished flowering and have produced seeds. The best time to collect seeds is when the flower heads have turned brown and dried out.
You can collect the seeds, let them dry, and then store them in paper bags. This is a great way to save money on next year’s seed purchases.
5. Take Hardwood Cuttings
Willow cuttings are really easy. You can even put the cuttings straight in the ground to root.
Another way to produce more plants for free is to take cuttings. We can take hardwood cuttings in winter to propagate more of our favourite plants.
Plants that can be propagated from cuttings include: viburnum, roses, willow, hydrangeas, mock orange, ninebark and spiraea.
Snip branches from your preferred plant using sharp secateurs; aim for about 12 inches in length and approximately the thickness of a pencil. Then, insert these cuttings into well-drained compost (you can add grit to enhance drainage).
Leave about ⅓ of the cutting above the soil level. Roots will form over winter and new leafy growth will emerge in spring.
6. Prune Perennials (Leaving Some for Insects)
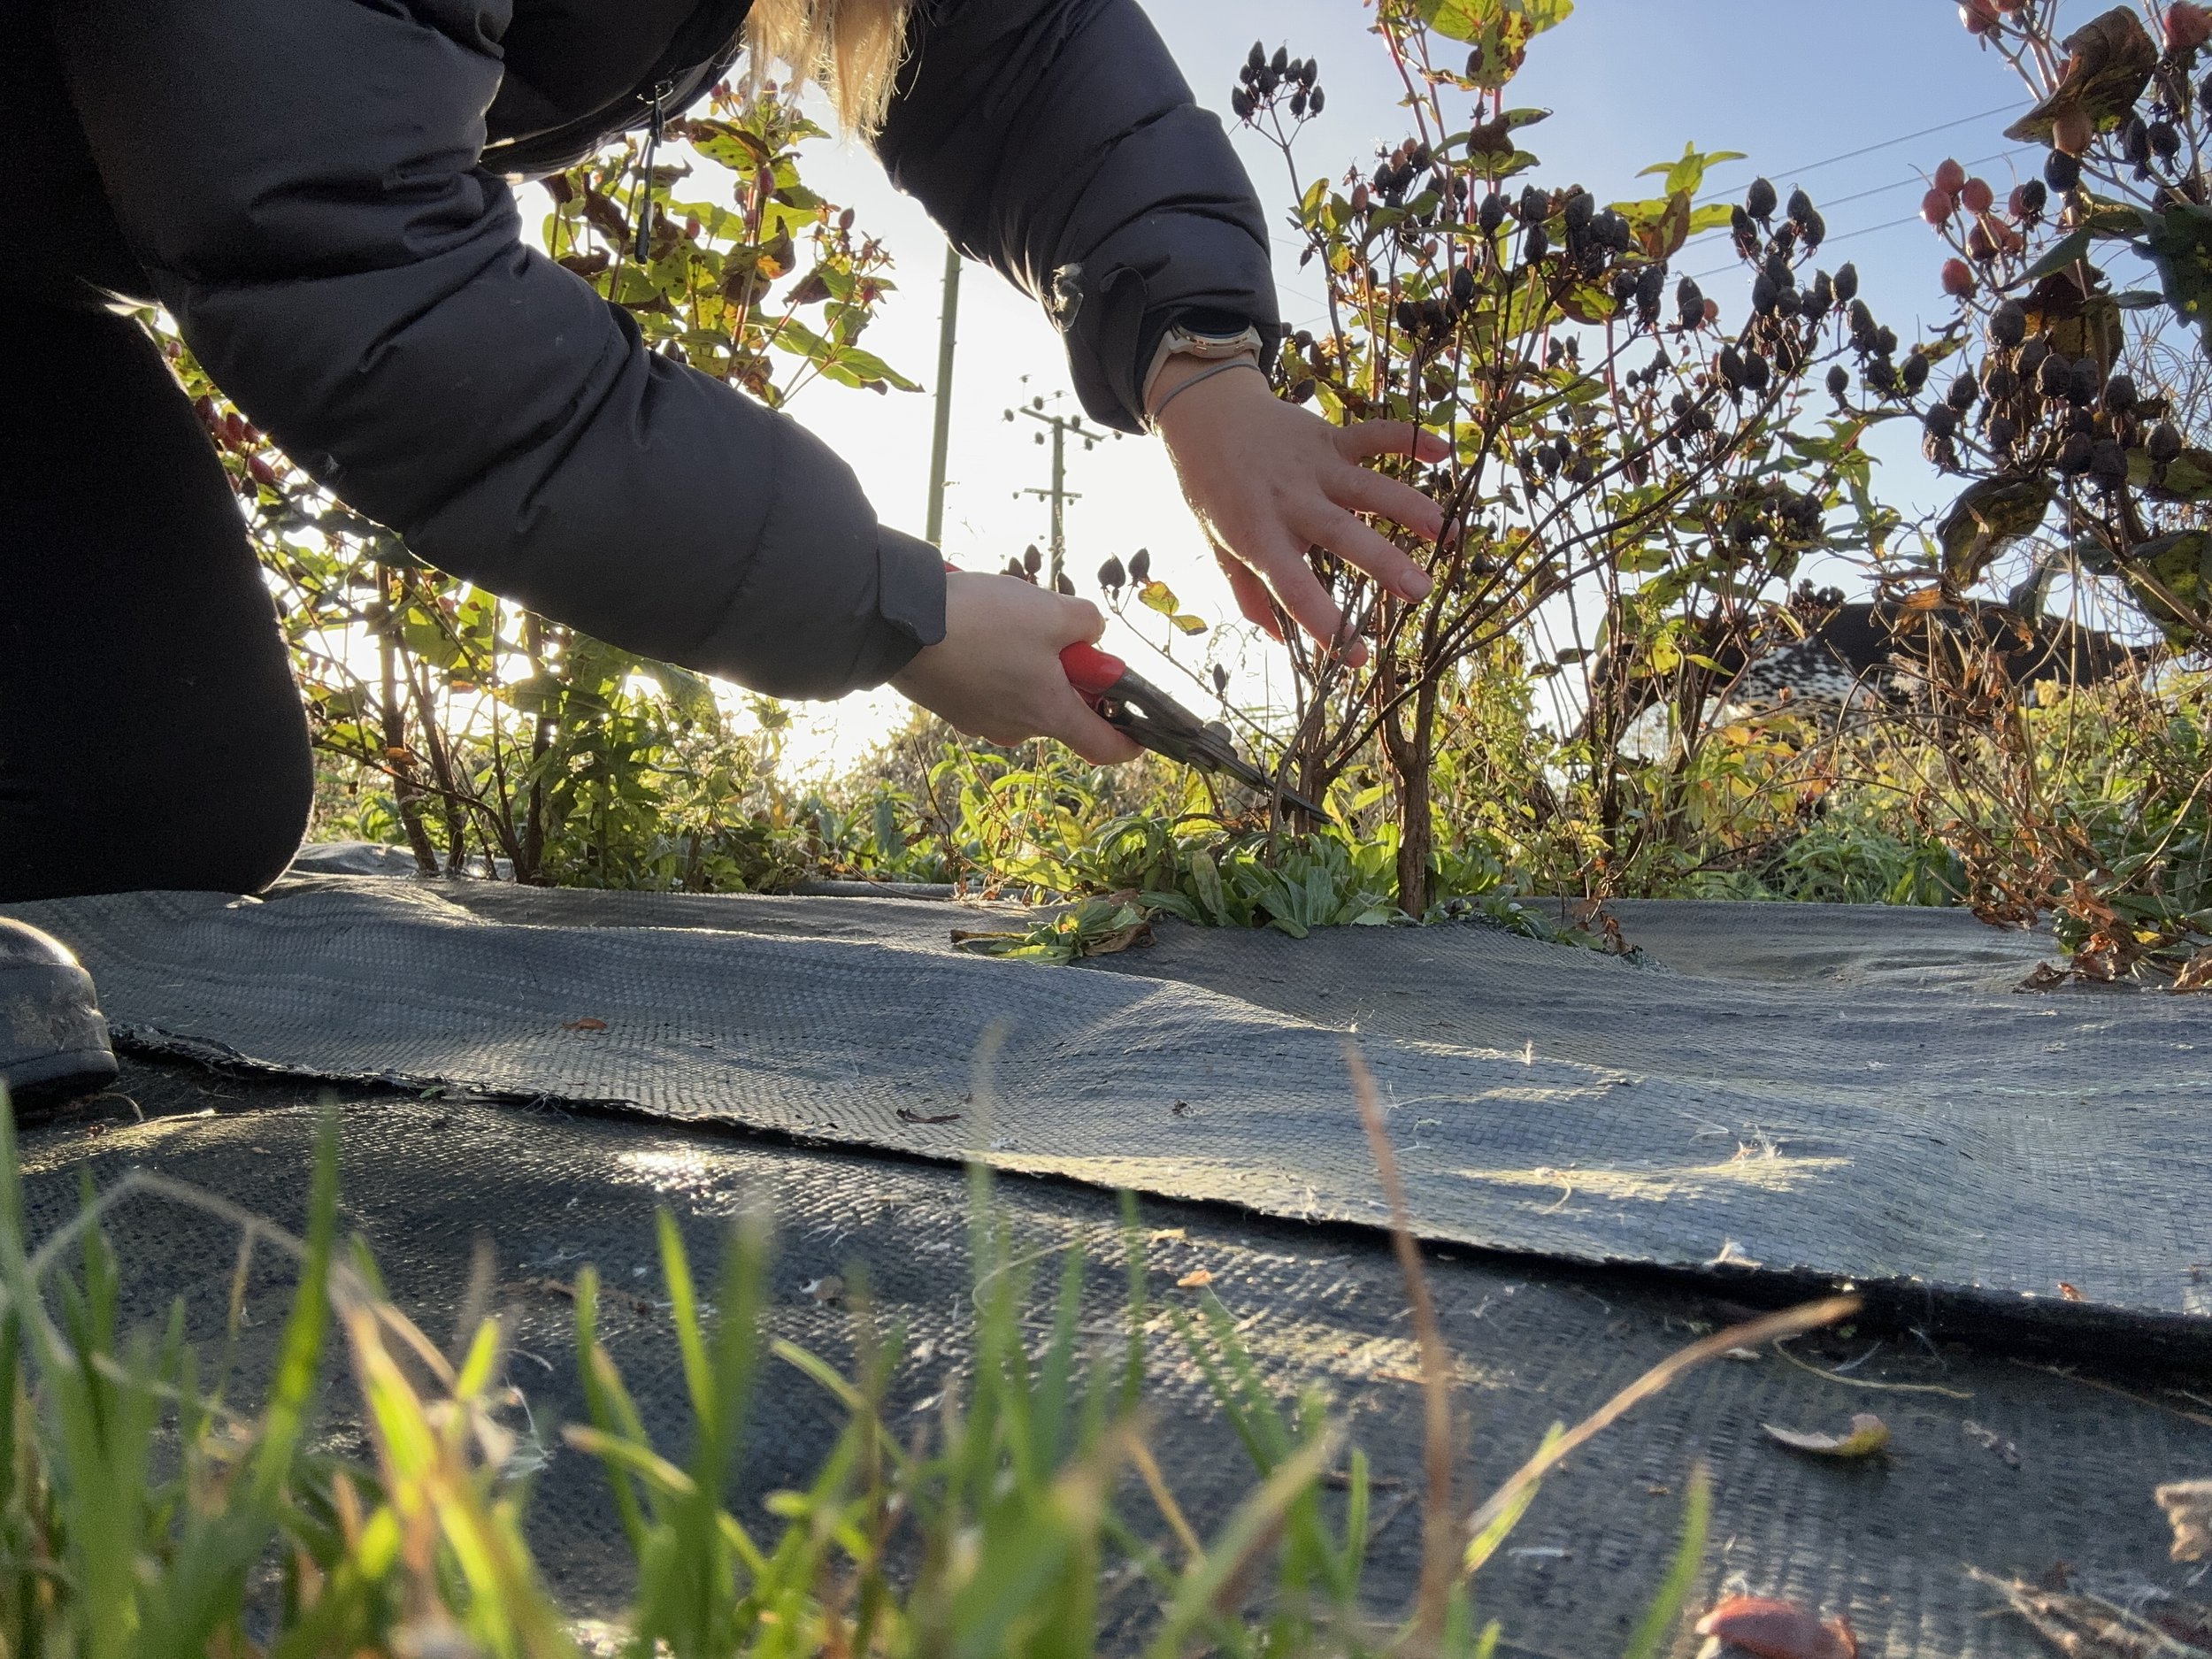
Cutting Hypericum back hard for long stems next season.
Trimming back certain perennials such as hypericum, roses and perennial phlox, can encourage the growth of usable stems for cut flowers the next season. For these, prune them right down at their base to stimulate new growth and encourage robust flowering in the following season.
Consider leaving some perennials or spent annuals untouched until spring. This serves as a home for beneficial organisms, providing a habitat for beneficial insects and creatures to shelter during the winter months.
When spring arrives, these helpful inhabitants can emerge and play their part in warding off pests.
7. Plant Spring Bulbs
Autumn is the perfect season to plant your spring-flowering bulbs in the ground. I prefer the ‘no-dig’ bulb planting method which reduces the labour input required.
The 'no-dig' gardening method, also known as no-till’, involves placing the bulbs down on the ground and covering them with a few inches of compost. This process helps maintain soil structure and fosters a healthy environment for organisms.
Not only does this eliminate the digging that is usually required, but once the bulbs are spent, a thick mulch bed remains, ready for another succession of flowers.
Benefits also include reduced weeding, enhanced soil fertility, moisture retention, and improved plant growth. It boosts soil health and requires less compost compared to traditional digging methods.
Tips for Planting Bulbs in Autumn
If planting tulips, this should be done later on in November to prevent proliferation of diseases like tulip fire.
Other spring bulbs that can be planted in autumn are Narcissi, Hyacinth, Camassia and Fritillaria.
Bulbs should generally be planted at 2-3x the depth of the bulb. If planted too deep, they may not flower. If planted too shallow, they are at risk from cold temperatures.
If you have problems with mice, you can cover the bulbs with chicken wire mesh before putting the compost down.
You can watch my no-till tulip video here.
8. Start Ranunculus Corms
Ranunculus flowers are a stunning addition to flower arrangements in early spring and after a long winter, these show-stopping blooms are a sight for sore eyes!
Ranunculus are grown from bulb-like corms resembling creepy claws. Soak these 'claws' to rehydrate them before planting for pre-sprouting. Pre-sprouting has the additional benefit of allowing us to weed out the non-viable corms, maximising our growing space.
Start corms in late autumn or winter for a splendid display of early to mid-spring blooms.
9. Label Your Dahlias (While They Still Have Flowers)
Even if you can’t remember the variety name, you can take a photo then look back at your records.
During the growing season, plant labels may go missing. There's also the risk of tubers being accidentally mislabeled or sold as something else. Label your preferred dahlia varieties so you can divide or take cuttings for next season.
Use wrap-around plant labels to avoid misidentification. Tie wraps are also handy for labeling purposes.
Remove undesirable varieties that are not serving their purpose such as oversized ‘dinner plate dahlias’ that are too large for bouquet arrangements.
Larger floral installments such as archway displays can make use of larger-headed dahlias. They don’t last as long in the vase so are good for one day events such as weddings.
10. Dig Up Dahlias (Or Protect Those in the Ground)
Caring for Dahlias over winter presents two primary options: digging them up or leaving them in the ground. Each approach has its advantages and drawbacks.
Digging up dahlias offers controlled storage conditions but comes with risks like storage issues such as rot. On the other hand, keeping dahlias in the ground reduces effort but carries risks due to variable ground conditions.
Digging Up Dahlias
If you decide to dig up dahlias, this can be done in autumn. You can cut dahlias down to ground level, delicately dig them up using a fork, give them a wash, and store them somewhere secure for the winter.
The advantage of digging up dahlias is that we can provide more controlled conditions for them in storage. Dahlias can still be at risk of loss during storage, primarily because of issues like rot, among various other factors.
To avoid dahlia rot, they must be dried (cured) prior to storing, stored at cool temperatures and kept dry.
We can get the dahlias started off early in spring to take cuttings (click here to watch my dahlia video).
Keeping Dahlias in the Ground
Another approach is to leave dahlias in the ground during winter with protection in the form of mulching and covering.
While this method reduces the effort spent on digging and preparing tubers for storage, it involves risks due to varying ground conditions.
In the last few years, I have saved on labour by applying a thick mulch to dahlias over winter. Despite my soil having a high clay content, many of my dahlias survive winter. The primary concern for tubers isn't primarily the frost but rather the excess moisture.
If you want to go above and beyond for your tubers, you could add a thick mulch of straw, leaves, compost or any other organic material, and then cover with a sheet to prevent excess moisture in the soil.
Remember to keep an eye out for frost-sensitive dahlia shoots in spring and protect them from frost if necessary.
Winter Garden Care Summary
As late autumn slips into early winter, us gardeners and flower enthusiasts might be looking forward to a bit of well-deserved downtime. But before we settle in for the winter slumber, this time is crucial for setting the stage for what’s to come next year in our gardens or farms.
After years of tending to blooming beauties, I’ve found these ten winter gardening tips to be essential for keeping my farm strong and ready for the next season.
Whether you're an eager backyard gardener or a seasoned flower farmer like me, these tasks are here to help us ensure our gardens, farms, and beds are in top form when spring rolls around.
If you’re looking for more winter-themed floral activities then check out my tutorial on how to make willow hoops from scratch or my article on DIY Scandinavian Christmas wreaths.


